If you are using Gmail and for some reason want to configure auto-forward e-mail in Gmail then read this article.

Gmail is one of the best email services in the world. Gmail provides too many features and services via customer can easily access and used. E-mail forwarding features is one of them where you can easily forward your email.
If you are using one or more accounts then want to forward your email to another account then can easily forward it on Gmail. To forward your email you need to follow some easy steps.
How to auto-forward e-mail in Gmail using Direct Forwarding?
Table of Contents
If you want to forward all the emails to the main email id or alternate email id then from direct Forwarding options you can forward your email.
To Forward all the Email to another email id follow these steps-
- Navigate to the browser and open Gmail.
- Sign in with Gmailcredential email id, Phone, and type password.
- Click on the Settings Icon on the Right side top corner.
- Click on See all settings.

5. Navigate to Forwarding and POP/IMAP and Click on add a forwarding address.

6. Enter Forwarding email address and Click on Next.

7. Click on Proceed on Forwarding mail to screen.

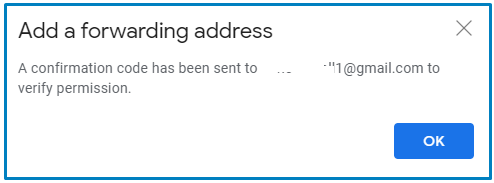
8. Click on OK on “A confirmation code has been sent screen”.
9. Now Login from Forwarded email address. or check your email where received code and Link.
10. Click on Link and type code.
11. Now received confirmation Success! massage.

How to auto-forward e-mail in Gmail using create rules?
if you want to forward some special people’s email, subject, size, word then via creating rules you can forward the email to another email id.
To auto-forward e-mail in Gmail using create rules follow these steps-
- Navigate to the browser and open Gmail.
- Sign in with Gmailcredential email id, Phone, and type password.
- Click on the Settings Icon on the Right side top corner.
- Click on See all settings.
- Click on create a Filter.
- Select Filter according to your requirment
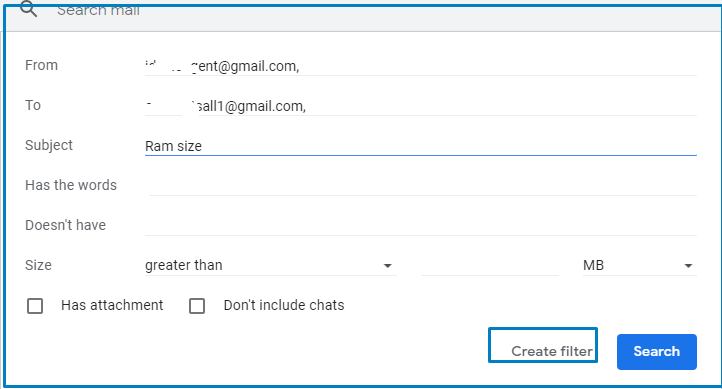
7. select forward it and Click on add forwarding address.
Now type create Filter.

After Restart your computer install Network Adapter offline or Online.
So, This is all about the “auto-forward e-mail in Gmail“.
We hope that you like this Article and helpful for “auto-forward e-mail in Gmail“. You can also Join Us from Social Media Pages Like Facebook and Twitter.
Thanks For Reading, Have a Nice day.
You may also read..
Pingback: Settings for yahoo mail in Outlook 2019/2016 - Concepts All