In this blog, we will discuss How to Map a Network Drive in Windows 10 because after the mapping you can easily share information with each other.

What is Network Drive?
Table of Contents
A network drive or Map drive is the drive where you can share your local hard drive or NAS(Network Attached Storage) in the network for data transfer such as media, documents, Folder, etc in a network. A network drive can also allow you to access your drive virtually over the Internet.
A network drives similar to the local hard drive but it allows users to share his information over remote servers or local Networks.
Advantage of a Network Drive:-
The advantage of Network drive is following:-
- Network drive allows users to share data with many users from one location.
- Mapping or Network drive allows users to given the permission of Folder access like on which user allows or denied access to drive, Types of data Permitted like Audio, Video, Image, etc.
- Easy to implement and Backup because this is the central drive that is installed on PC or LAN.
Disadvantage of a Network Drive:-
The disadvantage of Network Drive is following
- Network drive dependent on Networks like LAN or WAN, If any time networks will down your data will be not accessible.
- chances for virus Attached on Network Drive because network drive accessed by multiple users.
- Data is not more secure because any permitted user moves the data from one drive to another drive.
Map a Network Drive in Windows 10
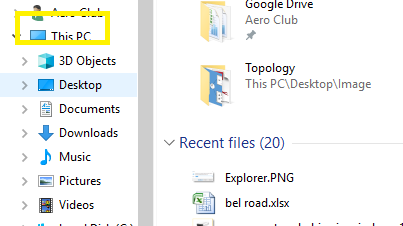
- Press (Windows + R) and type Explorer or Open This PC (My Computer).

2. Select This PC from Left Panel.
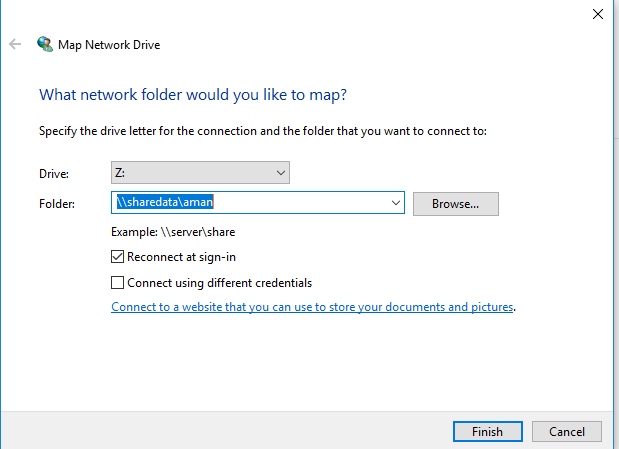
3. Click on Computer and Select Map Network Drive.

4. Choose Network Drive Letter, Then after Browse the Path and Click on Finish.
If You are getting any error for creating Network drive you need to turn on Network Discovery.
How to Turn On Network Discovery for map a network drive in windows 10?
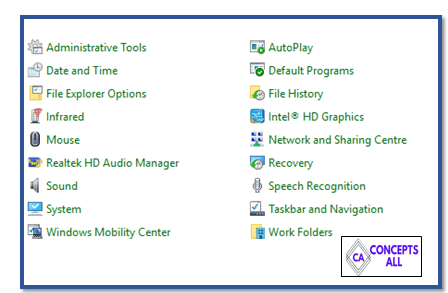
5. Open Control Panel (Press Windows+R) and type Control.
6. Click On Network and Sharing Center.
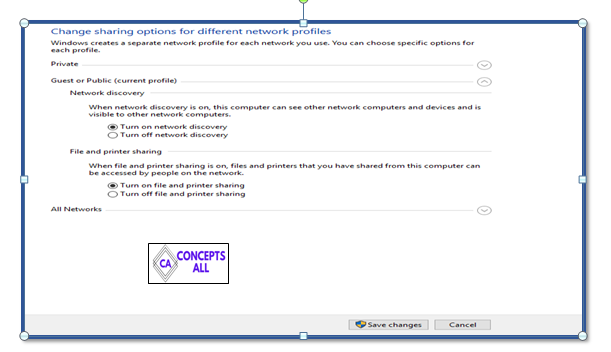
7. Click on Change advanced sharing settings.
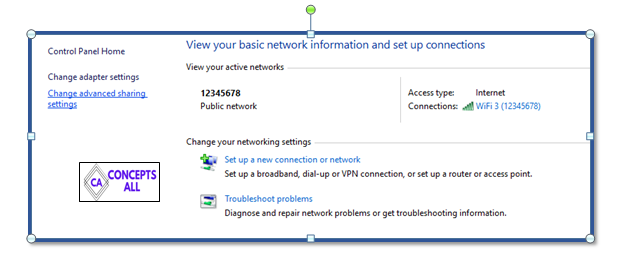
8. Click on Turn on Network Discovery.
For Disconnecting the Map or Network Drive, Select the drive and Right Click on it and select Disconnect.
Thanks for reading this blog now your concepts have been cleared about map a network drive in windows 10. If any doubts and query please comment on me.
You may Also read…
Such a good information
Nice
Good